I've seen a lot of these crafty blogs use freezer paper to make stencils for t-shirts, canvas bags, hats, scarves, you get the idea. It's been a bit intimidating to me because the tutorials are always more complicated than my brain can handle. I found one a little while ago that made perfect sense so off the boys and I were to the grocery store for freezer paper and the craft store for paint. The project I had in mind was to make the three kiddos shirts to wear to our weekly Friday night football game.
Here is how it went down.
First, I needed a design. I just found some free clip art footballs and jumped into photoshop to map something out that was very easy and very basic when it came to positive and negative space. For my first try I needed to go as simple as possible.

The next step was to trace my stencil image onto the freezer paper, shiny side down. After that, very carefully I had to cut the stencil out. It's a bit of a pain because each stencil cannot be reused so I had to make three, one for each shirt.
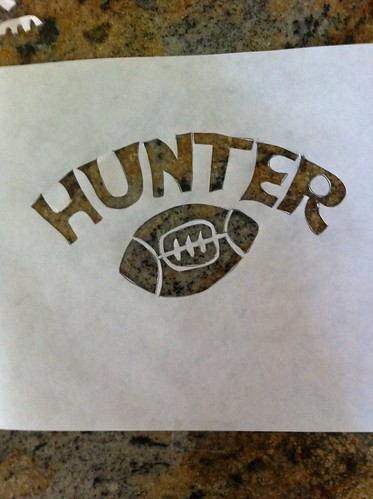
Now, you want to know what's cool about this process? The freezer paper is sticky. Once the stencil is cut out, you can iron it (shiny side down) onto the shirt your going to add the image to. Awesome. So, I cut out three stencils and ironed them on to three different little shirts.
Then, with a decent paint brush (just one of my kids watercolor brushes...we have a lot to choose from) I started painting doing my best to stay in the lines and not apply the paint to quickly or to thick. I should have been patient and let each layer drive before applying the next but patience isn't one of my virtues and the final product shows that I was in a bit of a hurry.
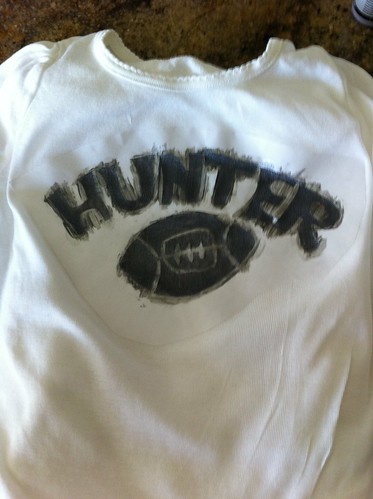
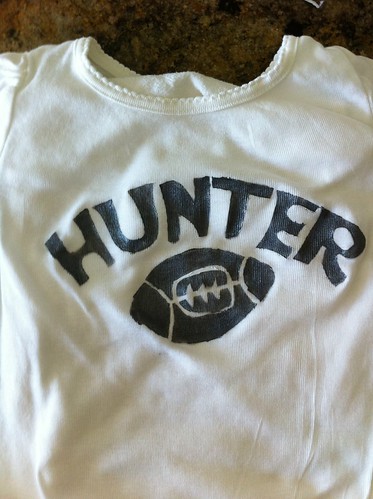
To speed up the drying process, I got out my blow dryer to help the paint along. Once it was dry enough, the fun part was peeling off the freezer paper to see how the whole thing turned out. Because I was dealing with some pretty fine line details on some of the lettering and the football, things bled a bit. I'll be more patient in the future, but the little shirts really did turn out pretty cute.
I was a good mom and let Elliott do his own and, well, it looks like I let him do his own, but he was very proud to wear it to last Friday's game and tell everyone that he made his Hunter shirt all by
himself.

The kiddos sure looked cute though, all decked out, ready for the game and cheering on their favorite uncle.
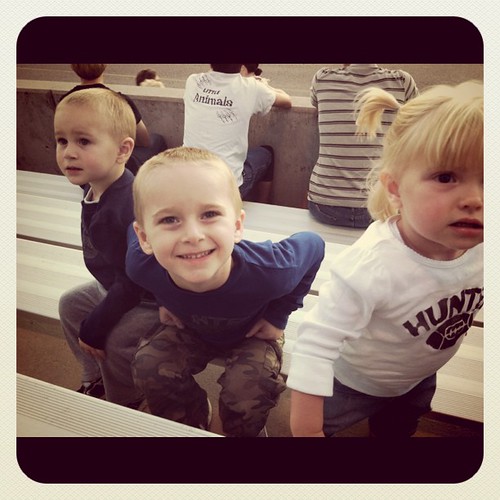
The project was pretty inexpensive, too. All the t-shirts were the $5 special at target, the freezer paper cost $5 and the two gray paints I bought were $2 each. So, we ended up with some cute, custom t-shirts for less than $25 dollars. I've got a few more ideas for this project in the future. After all, I have a whole roll of freezer paper in my pantry.
No comments:
Post a Comment